Custom Audio Stand
Jeff DeMaagd
I wanted to buy an audio stand for my equipment. It turned out that nothing I would consider affordable was up to the task as the designers did not account for the depth of DVD and CD changers, LD players or even some recievers. I could have bought an entertainment center but it would look funny without a TV as I wasn't using one, and most such entertainment centers assume a specific range of TV sizes, otherwise they look goofy with too small of a TV or one that didn't fit.
I have briefly considered buying a telecom or IT type rack system. After seeing the prices on even used parts, I considered building a compatible one but I was unable to find the specifications without paying.
I then started considerations for building a design of my own. I had vented my frustration in Anime On DVD's Hardware forum which member "redav" responded and we discussed ideas on what such a system would have. I wanted to follow the design of my ceiling mount project
I particularly wanted some sort of wire management. I found that in the form of "wire duct" commonly installed in industrial machines. It is basically a square "U" channel with a cap. This wire duct is available with slots in the sides to allow wires through. I also plan to use spit loom for bundling wires where more than one wire where it leaves the duct.
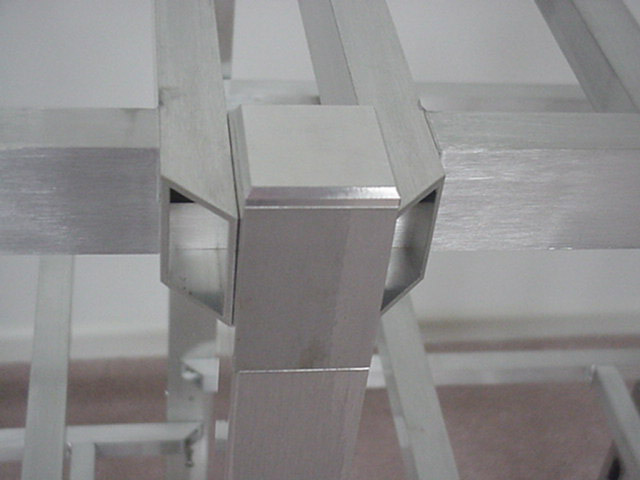
I used aluminum tubing for the frame, in something of an interlocking notch format much like the "Lincoln Log" toys that were sold in the US, and once interlocked, the parts were welded together. This design was intended to be clear anodized for scratch and corrosion / fingerprint resistance but the anodizer thought that the caustics would drain too slowly, so everything was given a clear powder coat.
I had wanted to have doors and side panels on this but the cost of sheet plastic proved to be prohibitive.
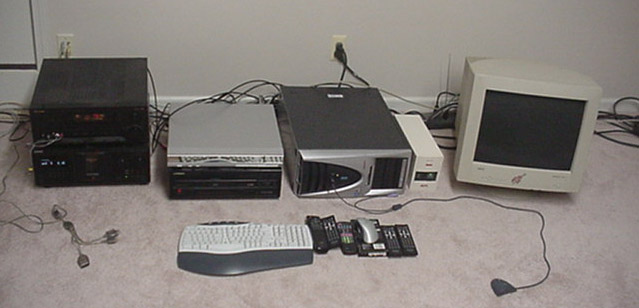
This arrangement is what I used for about a year. I had other components but I used them elsewhere as the rat's nest of cables would only get worse.
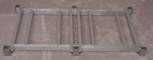
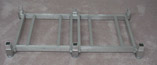
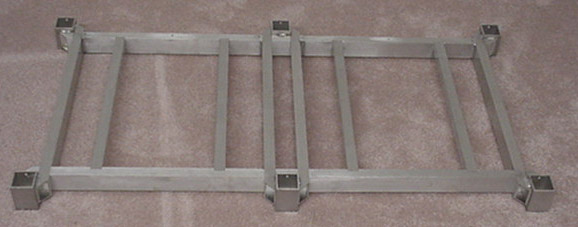
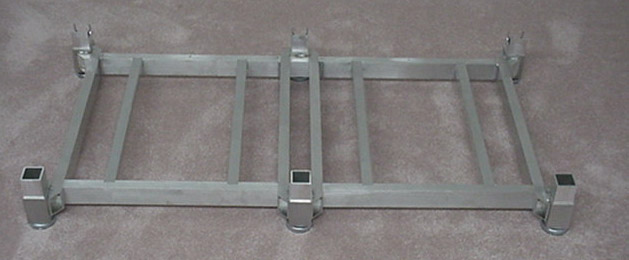
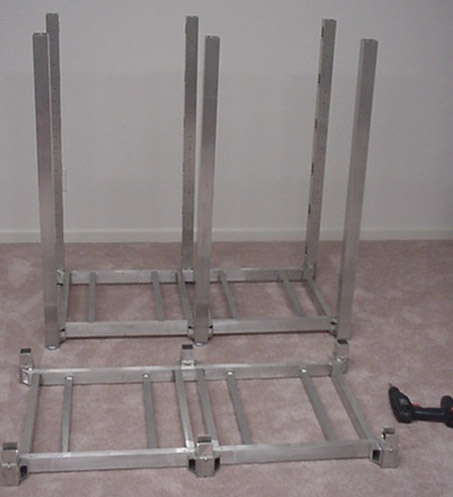
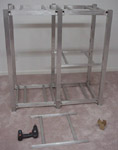
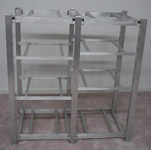
This is the base of the system, first without feet and inner sleeves, and second with both. |
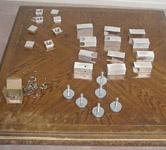
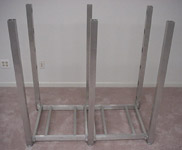
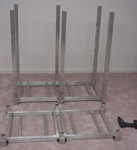
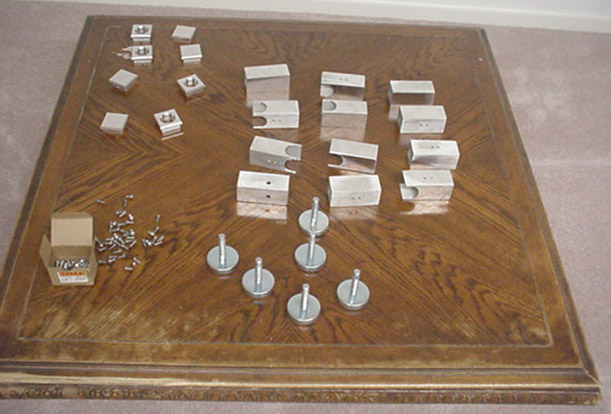
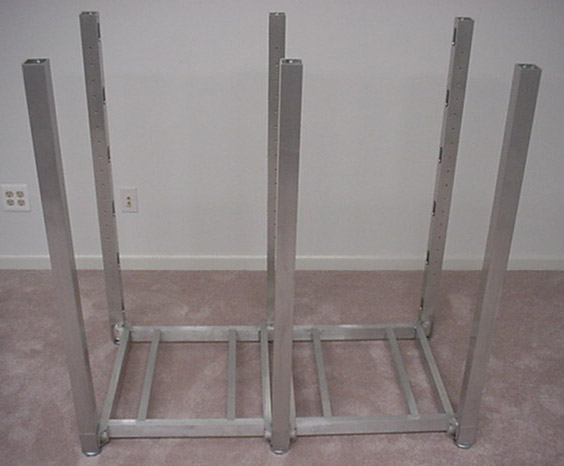
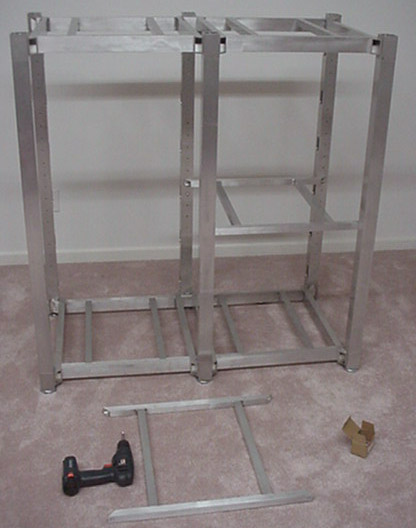
Small parts, installed posts and top frame assembly.
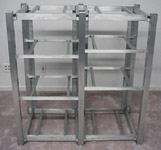
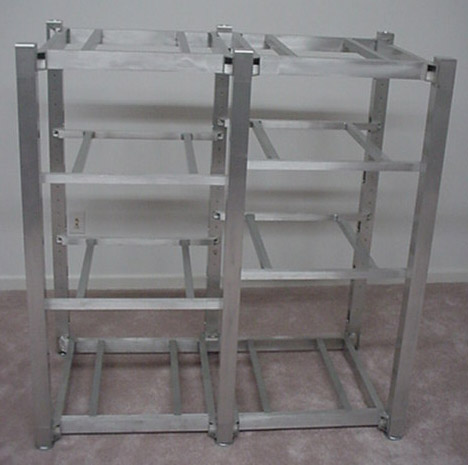
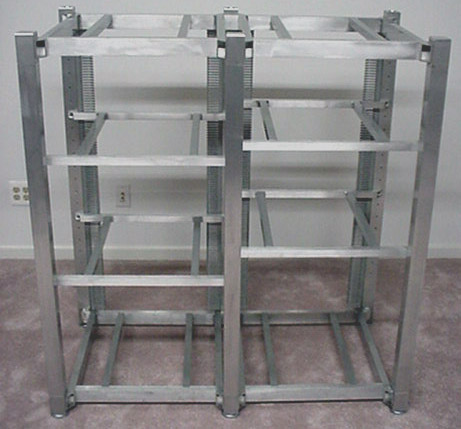
Shelf installation, shelves installed and wire duct installed.
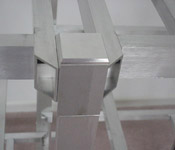
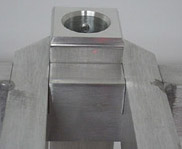
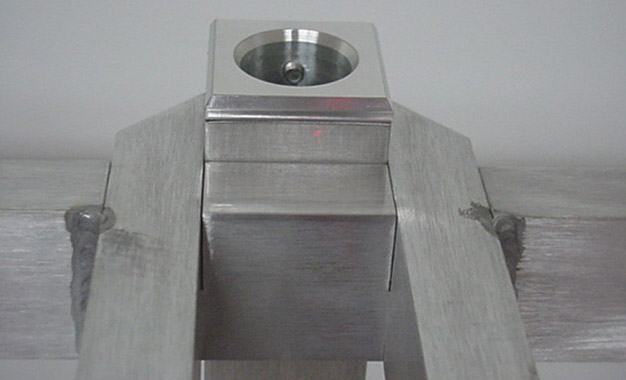
I made some nifty little endcaps for the top holes. I put holes in the rear covers so that I could use the tubing as a conduit for my wiring.
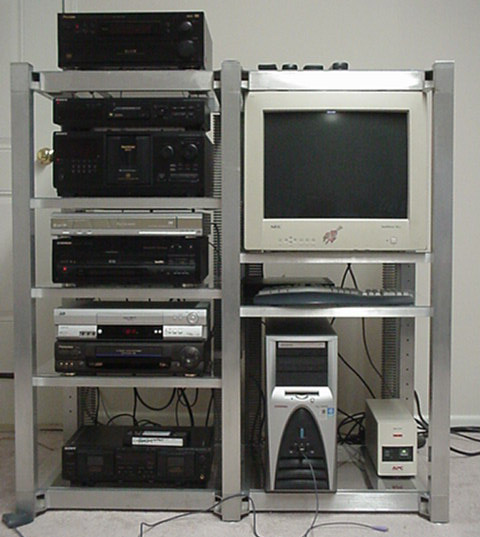
This is the rack with components installed into it.
The camera used is an old floppy drive Sony Mavica, so the pictures aren't as great as they would be if it were newer.
My Home Theater Main Page
My Site Main Page
Last updated Nov 28, 2003.
©2003 Jeff DeMaagd Mirroring and linking to this web page is allowed so long as the entire page is intact and ownership of this page content is not hidden or removed. Proper quoting is allowed but quoting out of context is not permitted. Please do NOT link directly to individual images from other sites, blogs, etc., but rather to this page.